Programming is a hobby of mine and in recent days I have been testing out various IDEs (Integrated Development Environments). One such that I have really enjoyed using is the
NetBeans IDE. One of the greatest features (at least in my opinion) is that no matter what OS I am using I can still be editing my programs with Netbeans. In my daily routines I will end up using Windows, Mac, and Linux so cross platform applications will always get a plus in my book. I also find that one of my greatest frustrations about programming is that most developers only create programs for a specific OS. Now, I understand why they do this (majority), but for people like me (minority) it is always a drawback to an application that only works in one OS. Enough ranting though lets get the latest NetBeans installed in your Ubuntu computer.
- Go to http://www.netbeans.org/downloads/index.html to download the version you want. Personally I chose the Java version but if you want Ruby, C++, or PHP you will want the All version. At the time of this writing the current version is 6.5 and my download was 208 MB.
- Wait for download to complete...
- Open a terminal and cd to the directory you saved it in. For me I saved it to my desktop so I typed in: cd Desktop/
- Now type: ./netbeans-6.5-ml-java-linux.sh (or whatever your version happens to be, use tab to autocomplete).
- If that doesn't work then it is possible that it needs the permission to execute. You could right-click>properties. Then under permissions check the box that says "Allow executing file as program" or you could type into command line: chmod +x ./
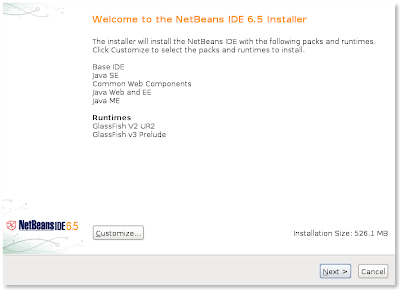
- You should see a screen much like the one above. Just follow the prompts and you will have NetBeans installed in no time.
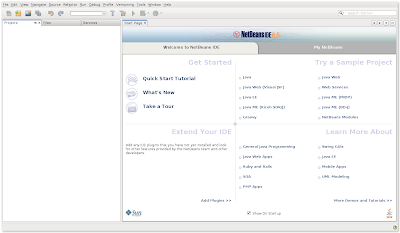
Below is a screenshot of NetBeans right after opening it for the first time. Now all that needs to be done is some programming projects. Hope this is useful!


No comments:
Post a Comment