Showing posts with label java. Show all posts

Monday, August 24, 2009

Ubuntu Google Web Toolkit Setup


It's easy to get started with the Google Web Toolkit and Ubuntu 9.04. There are a couple of steps you will want to take to ensure a proper setup.
First let me start by mentioning that the easiest way to do this is to use Eclipse. Eclipse is a full-featured Java IDE. Many complain that it is too slow, crashes, etc. Since Google developed a plugin for Eclipse and most likely their software engineers are using it, I think it would be best to use it as well. Now on to the actual steps.
Get Eclipse Installed and Working
  1. Don't use synaptic to install Eclipse. If you already have it installed through synaptic that's okay, but you will have two versions of Eclipse on your computer.
  2. Download the latest copy of Eclipse at http://www.eclipse.org/downloads. Don't worry about all the different versions. Just download the Eclipse Classic at the bottom of the list.
  3. Extract to a directory on your hard drive. I happen to put all of my programs that I install manually in a folder, /home/username/Software. This helps me keep track of all my programs I've installed manually.
  4. You should be able to start Eclipse either through the command line (after you change to the directory) or by double-clicking eclipse inside of the folder.
Install Google Web Toolkit Plugin
  1. Start Eclipse if you haven't already.
  2. Help > Install new software...
  3. Click the add button. Put GWT Plugin for name and paste in for the url:

    http://dl.google.com/eclipse/plugin/3.5
  4. Check the boxes labeled Plugin and SDKs. 
  5. Follow through the wizard. You will have to agree to the license.
  6. Once you finish with that window you will want to restart Eclipse. After that you can begin working with GWT in Ubuntu.
This worked for me on 32bit and 64bit Ubuntu. Hopefully you will be able to start building your Google Web Toolkit applications in Ubuntu.

Thursday, January 15, 2009

Developing with NetBeans IDE

Programming is a hobby of mine and in recent days I have been testing out various IDEs (Integrated Development Environments). One such that I have really enjoyed using is the NetBeans IDE. One of the greatest features (at least in my opinion) is that no matter what OS I am using I can still be editing my programs with Netbeans. In my daily routines I will end up using Windows, Mac, and Linux so cross platform applications will always get a plus in my book. I also find that one of my greatest frustrations about programming is that most developers only create programs for a specific OS. Now, I understand why they do this (majority), but for people like me (minority) it is always a drawback to an application that only works in one OS. Enough ranting though lets get the latest NetBeans installed in your Ubuntu computer.
  1. Go to http://www.netbeans.org/downloads/index.html to download the version you want. Personally I chose the Java version but if you want Ruby, C++, or PHP you will want the All version. At the time of this writing the current version is 6.5 and my download was 208 MB.
  2. Wait for download to complete...
  3. Open a terminal and cd to the directory you saved it in. For me I saved it to my desktop so I typed in: cd Desktop/
  4. Now type: ./netbeans-6.5-ml-java-linux.sh (or whatever your version happens to be, use tab to autocomplete).
  5. If that doesn't work then it is possible that it needs the permission to execute. You could right-click>properties. Then under permissions check the box that says "Allow executing file as program" or you could type into command line: chmod +x ./
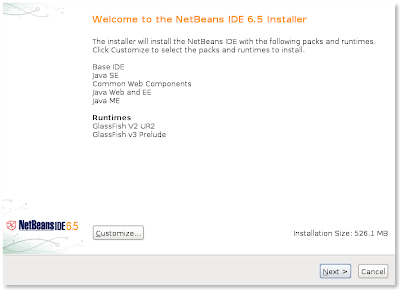
  6. You should see a screen much like the one above. Just follow the prompts and you will have NetBeans installed in no time.
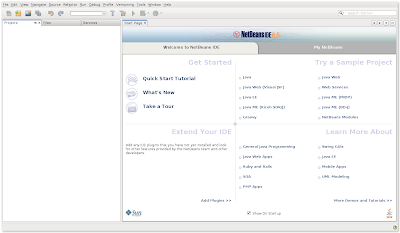
Below is a screenshot of NetBeans right after opening it for the first time. Now all that needs to be done is some programming projects. Hope this is useful!